
How to Make a Card Feel More Interesting Without Making It Too Busy
Struggling to make your handmade cards look polished and complete? In this tutorial, I break down the small details that make the biggest difference - from adding depth with ink blending to using layers and placement intentionally. Learn how to bring all your card elements together so your designs feel balanced, cohesive, and beautifully finished.
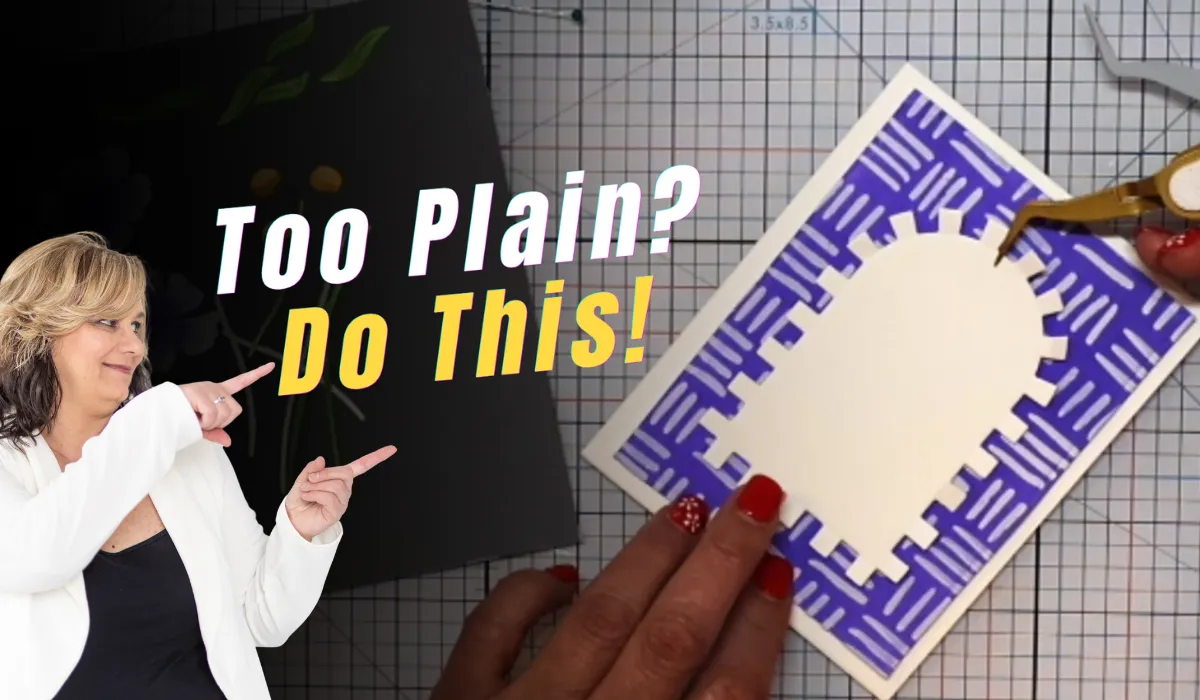
🛠️ Tools & Supplies: Arches & Modeling Paste Card
✂️ Dies & Collections
🧩 Color Block Arches
🌸 Layered Anemone Flowers
📐 Essential Matting Basics A
📐 Essential Matting Basics B
🧱 Cardstock & Surfaces
📄 Hammermill 110# Smooth Cardstock
📄 Heavy Layering Weight 125# Cardstock
🎨 Inks (Gina K Designs)
💜 Lilac Family
🌺 Carnation Family
🌸 Orchid Family
🖌️ Texture & Mixed Media
🧴 Modeling Paste (Crafter’s Companion)
🪵 Paste Spatula
🔷 Geometric Stencils (Set)
🧰 Work Surface & Tools
🧲 Glassboard Studio Glass Mat
🧲 Glassboard Studio Ink Stand
🧷 Altenew Sticky Mat
🧷 Tim Holtz Media Grip Mat
🪄 Altenew Perfect Picker Tool
✂️ Assembly Tools
🔗 Tweezers
✂️ Scissors
🏭 Die Cutting Machine
🧴 Adhesives & Finishing
💧 Bearly Art Precision Glue
⬛ Foam Squares
Some links are affiliate links, which means I may earn a small commission if you shop through them -at no extra cost to you. Your support helps me keep creating and sharing new tutorials.


